Showing posts with label French. Show all posts

Thursday, January 30, 2014

Cream of Asparagus Soup

This is a super easy and delicious soup made from the part of the asparagus that most people throw away, the end cuts. In the photo, I have garnished the soup with some sautéed asparagus, but this is not necessary. The cream soup stands on its own, without garnish. This means you can prepare the asparagus, as shown, and serve them as a side dish to your main course, such as a pan seared filet mignon with sauce hollandaise, while the soup becomes a course of its own. So you get two dishes for a little more than the price of one. 

You can use this recipe as a base for many other cream soups. For example, change asparagus to crab, the white wine to sherry, and add some ½'ed lemons and Old Bay, you'll have crab bisque. Make lobster stock  (from lobster shells) instead of asparagus stock and you'll get lobster bisque. Same goes for crawfish. Add creamed corn, PEI Mussels, spinach, and curry powder you get one heck of a good chowder. You can make a mushroom stock, leaving the mushroom bits in, then make the cream soup, over-thickening it a bit, and use it to make green bean casserole. The sky and your imagination are the limit. 

Note: The traits of a good chef is having minimal waste with maximum efficiently. You never want to throw anything away. Ends of carrots, tomato ends, butts of celery, onion cores, mushroom stems, should be saved and used for stock. But when wondering what vegetables to use in your stock, remember that you want a stock to be flavorful, but also be neutral. Neutral flavoring means that the flavor of the stock will lend itself to just about any cooking style and flavor profile. This is why bell peppers should not be used for stocks, unless you are going fro that specific flavor, as they DO NOT have a neutral flavor. Neither does asparagus. So, we are going to be making an asparagus stock, that will become the base for the cream soup. You should get accustomed to making stocks, as they should be the base for most of your sauces and soups. For example, if you get shrimp, don't throw the shells away...Make a shrimp stock. Use that stock to make the sauce for your shrimp. If you're making scampi,  for example, after sautéing your shrimp, deglaze the pan with the stock and reduce by ¾, then deglaze with the white wine and lemon as per usual (You may want to remove the shrimp before the sauce is compete to prevent overcooking)...Stocks infuse your food with more flavor and enrich your cooking, They can become dishes themselves, and they mostly use scraps your already throwing in the garbage.  

Note: It is important to realize that these recipes are merely guidelines to follow. They'll taste great as they are, but I encourage you to play with them and make the recipes your own.

Note: It is good practice to read the entire recipe, while paying particular attention to the "Notes", before you try to make the dish, as there are often subtleties that can be easily overlooked, which sometimes, can make all the difference in the world for the outcome. 

Serves 4

Skill Level: Beginner
Prep time about 10 minutes.

Cook Time about 30 minutes.

Ingredients:

  • 1 Bunch Asparagus
  • 3 cloves garlic, minced.
  • ½ cup Chicken Stock
  • ½ cup White Wine
  • 2 cups Almond Milk
  • 1 Pint Heavy Whipping Cream
  • 1 Tbls butter
  • Arrow Root (Corn starch can be used, but not recommended)
  • Kosher Salt
  • Pepper
  • White Wine
  • Extra virgin olive oil


Tools Needed:
  • Paring Knife
  • Saucepan
  • Mesh Strainer
  • Cutting Board

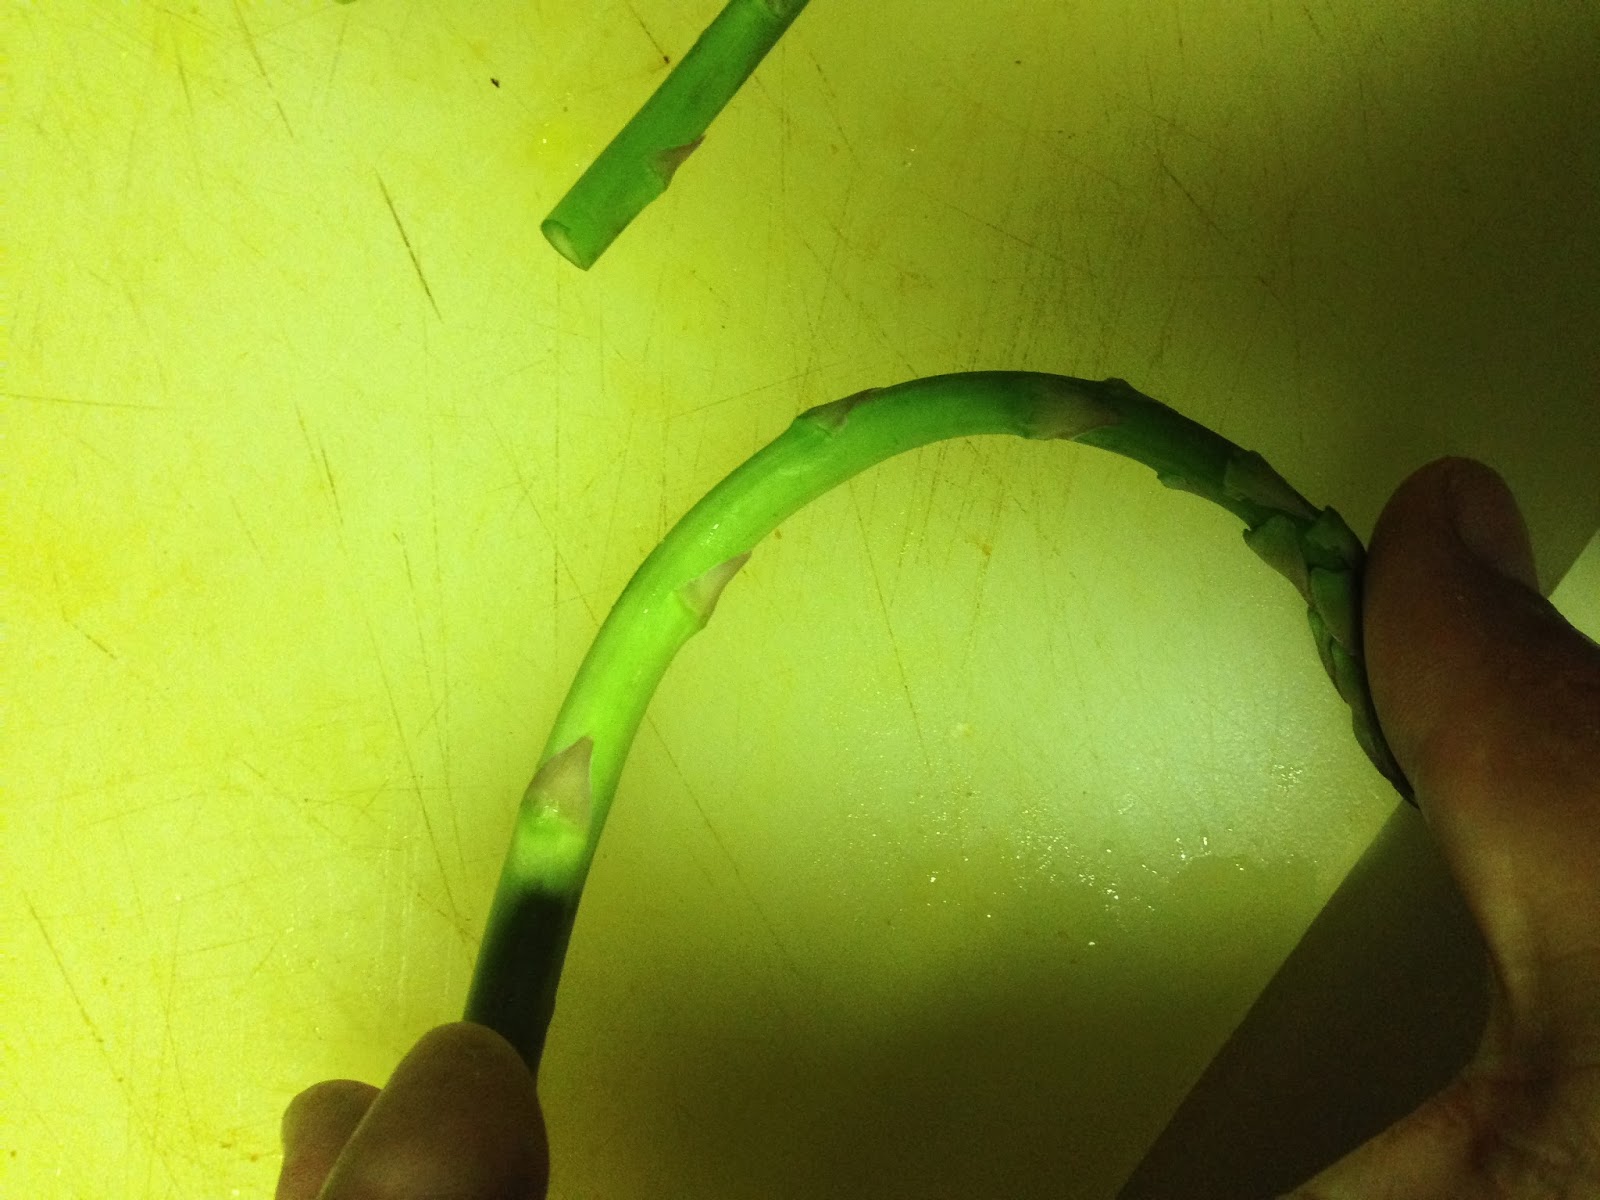
First, determine where the asparagus are the juiciest. To do this, simply bend the stalk until it breaks. It is from that point, upwards the asparagus is the juiciest, and from that point and below, the driest and most fibrous. These dry, fibrous ends are the focus of this recipe. Cooking the tips is simply a matter of blanching in boiling, salted water, then shocking in ice water, then sautéing in butter with salt and pepper to taste.


Using a paring knife, at about an inch above the break point we just found, begin making tapered cuts right up to the break point. When you have gone all the way around, simply bend and snap it off.

Note: Cutting asparagus in this manner is just for appearance. 


This is the scrap pile that would normally be tossed away, well we're going to make a great soup out of it.


Sauté the asparagus, with the minced garlic in a few tablespoons of olive oil.
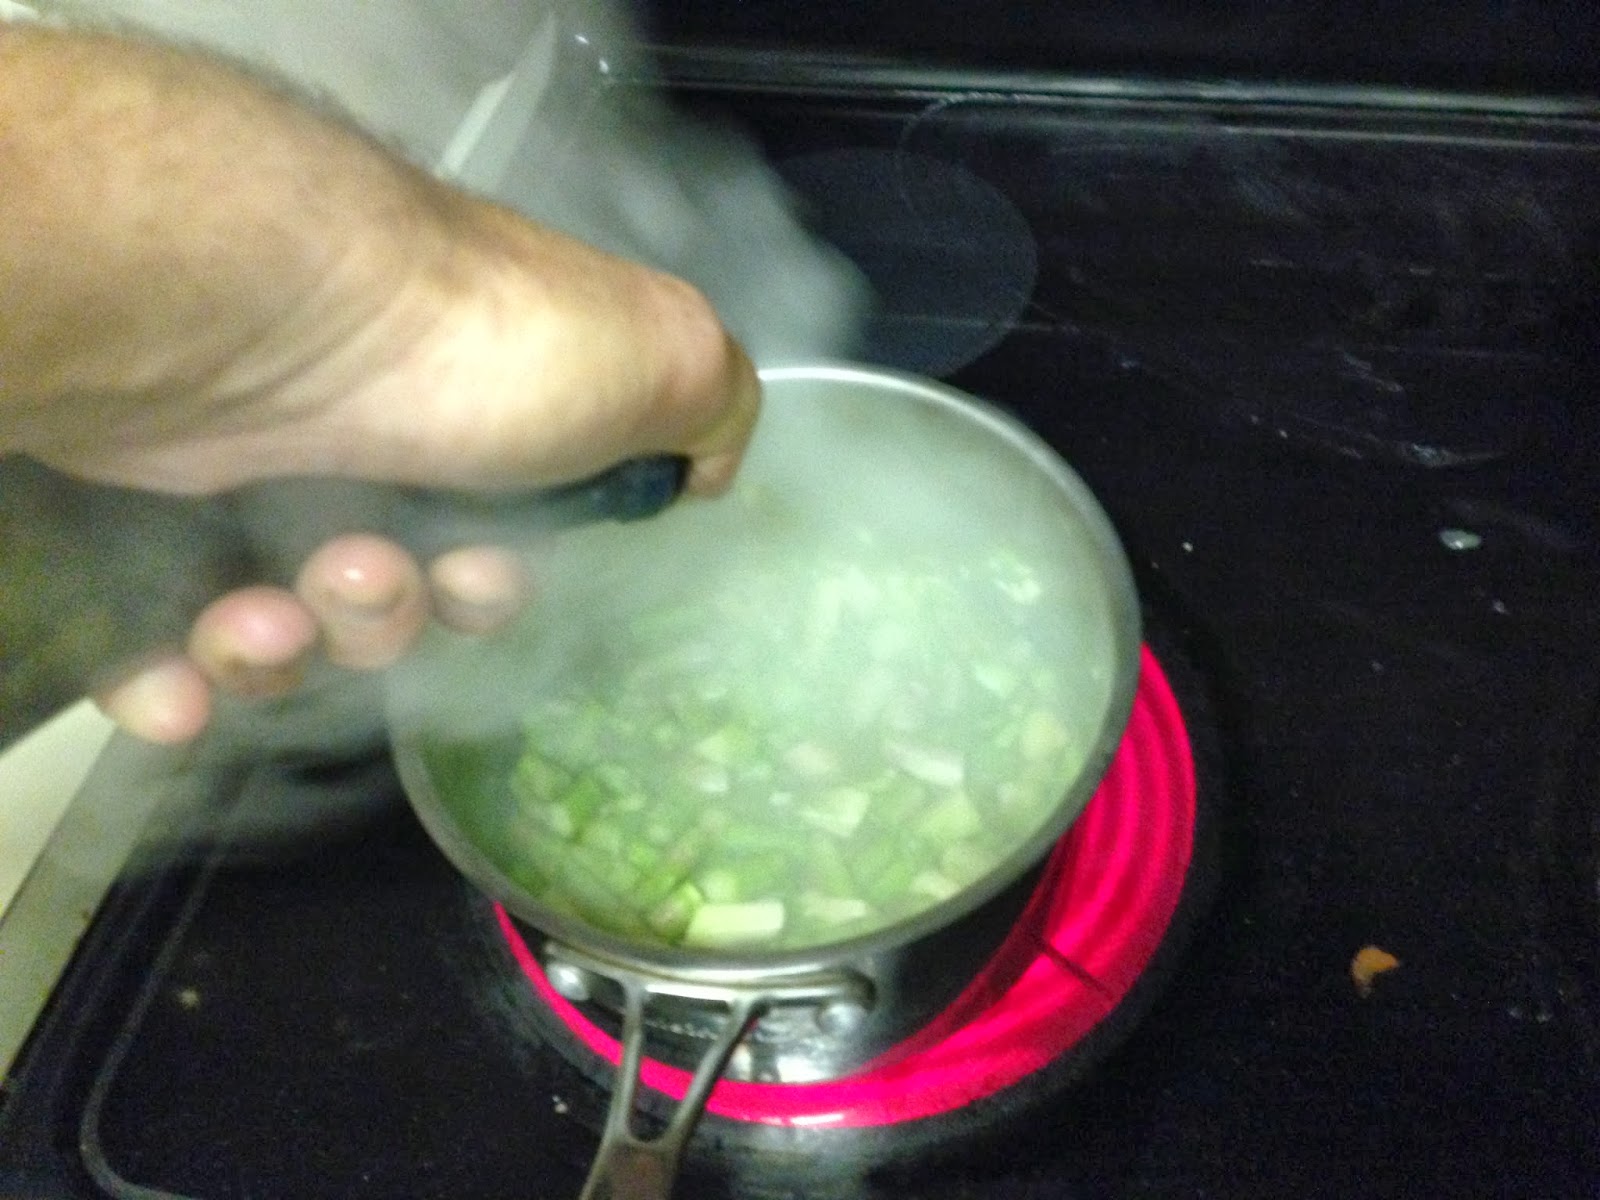


Deglaze with white wine and chicken stock.

Note: Stocks can be used as the foundation to other stocks. In particular, it is common to make a stock, then re-boil the stock constituence, making a second, thinner stock known as a remouillage or "remi" for short. A remi is a type of stock specifically used as the base for the next stock prepared. Doing so, insures no flavor is lost or wasted.


Once the wine and stock have reduced by 70-75%, add the Almond milk and then the heavy cream

After simmering with stock in the cream for 20 minutes, strain through a mesh strainer. 
Now, take a few tablespoons of arrow root, or corn starch, and make a slurry (a mix of starch and cold liquid, water in in this case). Add the slurry, little-by-little, until the the soup reaches the desired thickness. Adjust flavor with salt and pepper and enrich with the tablespoon of butter,  a process known as monte au beurre.

Note: The reason corn starch is not recommended, is due to the fact it is unstable. By unstable, I mean that if you reheat something thickened with cornstarch 2 or 3 times, the corn starch will completely loose its ability to thicken. Arrow Root, on the other hand, is a sable starch and therefore can withstand unlimited rehearings without losing its thickening property.

Note: If the soup becomes over-thickened, then simply thin down by adding water, or stock, little-by-little, until the the soup reaches the desired thickness. Then, re-adjust the flavor with salt and pepper.

Fun Fact: Soup can be maintained indefinitely, if brought to a boil at least once a day. In Jamaica, there is a soup tradition known as a "Pepper Pot", whereby a family keeps a soup based meal going continuously for decades, and in some cases, more than a century.


Enjoy.

Sunday, January 12, 2014

Roulade of pork Loin, filed with Chorizo, Artichokes, and Roasted Red Peppers. Served with Butternut Whip and Finished with Brown Cashew Butter.

Roulade of meats is one of the best way to take a boring cut of meat and make something that will wow your family and friends. You want to pick a tender cut of meat to do this with, like a pork roast, pork tenderloin, beef tenderloin, lamb chop, veal chop, turkey breast, etc...

The only limit to the stuffing depends on the meat your going to be cooking. If it is a large roast like I'm preparing, you wouldn't want to fill full of cheese, as it you completely ooze out the sides and burn on the cooking pan. 

Your also going to want to make sure your chef's knife is sharp, as this will make the process much easier. 


Makes about 6 portions

Skill Level: Intermediate

Prep time 20 minutes.

Ingredients:
  • Pork Loin Roast
  • 3 Chorizo Sausages
  • 1 cup uncooked bacon ends and pieces 
  • 1 Can Artichokes
  • 1 jar of Roasted Red Bell Peppers
  • 1 Butternut Squash
  • Heavy Cream
  • ½ Stick Butter
  • ½ cup Brown Sugar
  • 1 tsp Dry Basil
  • ½ tsp Dry Thyme
  • 1 tsp Smoked Paprika
  • 1 tsp Dry Parsley
  • ¼ tsp Pure Vanilla Extract
  • Toasted Cashews
  • Sweet Onion

Tools needed:
  • Large Cutting Board
  • Chef's knife
  • Pairing/Petty knife
  • ½ Sheet Pan or Cookie Sheet
  • Large Spoon
  • Food Service Wrap
  • Sautoir Pan
Pre-Heat Oven to 350 Degrees


Split the Butternut Squash down the middle and use a large spoon to scoop out the seeds.

Note: The seeds can be toasted and salted just like pumpkin seeds.


Salt, pepper, and rub olive oil all over the squash haves.


Place skin side up in a 350 degree oven and cook until soft to the touch. About 30-40 minutes depending on the size.


Cut just one end off the pork cryovac packaging.


Turn upside down over a sink or garbage can to allow juices to drain while sliding the meat free from its packaging.


Use petty knife to remove any silver skin, but leaving the fat.


Silver skin removed with the fat cap remaining.


Placing your chef's knife coincident with the cutting board, the handle should create the perfect thickness for your roulade.

Keeping your knife coincident with the cutting board, cut down the length of the meat.


Unroll the meat as you go.
By the end, you should have a large sheet of meat that is of even thickness.


Now to prepare the filling. Remove the chorizo from the casings.


Medium dice the onion.


Chop and cook the bacon.


When the bacon is browned, add the chorizo.


When the chorizo has cooked, add the onions.


After the onions have sweated, add the artichokes, the roasted red peppers, basil, thyme, paisley, and smoked paprika.

Adjust the seasoning with salt and pepper and cook for about 5-7 minutes.


Allow to stand and cool in a bowl.


Once the filling is cool, spread evenly over the meat, leaving a flap that is clean. This flap with help the loin hold its shape once cooked.


Roll up as tight as you can, making sure your not squeezing any of the filling out of the sides.


Wrap in the food service wrap in such a way you can twist the ends, like sausages.


Then refrigerate. This will allow the proteins to lock, again to help ensure that the loin holds its shape during the cooking process. It is best to do this the day before and let the loin rest, wrapped tight, over night.
When you poke the squash with your finger and they are soft to the touch, they are ready.


Place on cutting board, skin side down, then gently scrape out the meat.


In a sauce pot, bring the cream and brown sugar to a boil. Add a dash of salt and vanilla.


Whisk the cream mixture into the squash until the desired consistency.


When ready, remove the plastic from the loin and place on a ½ sheet pan.


Cook at 350 degrees until golden brown. Allow to rest for about 10 minutes.


In the mean time, if you used a bulk can of artichokes like i did, you can transfer the artichokes and brine to freezer bags, of approximately the sized portions your use for recipes and freeze them for later.
After the loin has rested place on a clean cutting board.
2 thick slices make a good portion size.


Toast your cashews in butter with a little salt if you bought raw cashews like I did, and let the butter brown a bit.


Put the butternut squash on the plate, two slices of pork, then top with cashews and brown butter.

Enjoy.

Monday, August 26, 2013

Creme Brûlée Recipe


Creme Brûlée, a true classic, is one of those very simple yet outstandingly good deserts, so it should be part of any good chefs repertoire. This is one of the first desserts that I ever learned how to prepare and it is still one of the most requested. So here is the basic recipe, which is also the base for creme anglaise, praline cake, and eggnog, among other uses.

Please feel free to play with the recipe and be creative. For example, you can add some of espresso and chocolate and have Mocha Creme Brûlées. You could add strawberry simple syrup and instead of the sugar crust, you could top it with a shortbread cookie for Strawberry Shortcake Creme Brûlées. You could flavor the custard with mango and top with macadamia brittle and have a Caribbean creme brûlée on a hot summer day. You could add a little cinnamon and nutmeg at christmas time to make Eggnog Creme Brûlées. You get the idea, the sky is the limit. Have fun creating and post what you made in a comment on this recipes, to inspire others.

Note: It is important to realize that these recipes are merely guidelines to follow. They'll taste great as they are, but I encourage you to play with them and make the recipes your own.

Note: It is good practice to read the entire recipe, while paying particular attention to the "Notes", before you try to make the dish, as there are often subtleties that can be easily overlooked, which sometimes, can make all the difference in the world for the outcome. 

Makes 4-8 servings, depending on cup size size.

Skill Level: Beginner

Prep time about 20 minutes.

Cook Time about 40-50 minutes.

Ingredients:

  • 6 egg yolks
  • ½ cup sugar
  • 1 pint heavy whipping cream
  • 1 tsp pure vanilla extract (DO NOT USE IMITATION) or ½ vanilla bean.

Tools Needed:
  • Large Stock Pot
  • 1 medium bowl
  • Whisk
  • Creme brûlée dishes or coffee cups or any container that can go in the oven.
  • Water pan
  • Spoon or 1-2 ounce ladle
  • 4-6 ounce ladle
  • Medium plastic container
  • 4-8 oven safe earthenware containers

Preheat oven to 350 degrees.


Separate eggs by cracking the egg shell into two haves and move the egg yolk between the two half shells. This method seems a bit difficult at first, but with practice, you'll soon see this is the most efficient method for egg separation.


Note: You can discard the egg whites or use them for another recipe. They'll last 3-4 days in the fridge. You can use them to make mayonnaise, egg white omelets, meringue, etc...
Add sugar and vanilla to the yolks.

Note: If you use a vanilla bean, cut the husk in ½ lengthwise, and scrape out the seeds (The seeds are minuscule, so they will resemble a black paste then scraped out). Toss the seeds in with the heavy cream as you bring it to a boil. Take the husks and put them in a container with some sugar (Also place the unused ½ of the vanilla bean in with the sugar). In a few weeks time, you will have 'vanilla sugar'. One whole bean husk will flavor about 3 cups if sugar.
Note: Whole, unused vanilla beans can be stored in your vanilla sugar for a few weeks prior to use. The beans will impart some of their essential oils into the sugar, imbuing it with more nature vanilla flavor. DO NOT store whole beans in the sugar long-term, as they will dry out and become unusable. If you bought whole vanilla beans, for long-term storage, place the unused beans in your refrigerator. 

Whisk eggs and sugar until creamy (near ribbon stage).


Bring the cream to a hard boil.

Note: Cream expands quite a bit when it comes to a boil, so using a large stock pot avoids boil over and messes.


Pour a little cream into the eggs while whisking. This tempers the eggs so they do not scramble when you add them to the cream.


After the eggs have been tempered, you can pour them into the cream, whisking the whole time.
Place in to a container to cool.


Use a spoon or a small 1-2 ounce ladle to skim off any remaining foam on the top of the custard.


Now, this is a real creme brûlée ramekin and you should use them if you have them, but if you don't have any, don't worry. Just about any oven safe earthenware container will work.


I used coffee cups. Now, we need to cook the creme brûlées in a water bath, called a bain-marie, so I chose a medium rondo pan


Use a ladle to portion out the creme brûlée, so they are all the same size and will therefore cook evenly. Moreover, you don't want air bubbles in the custard, so pouring out of a ladle gives you more control over the speed of the pour. The slower you pour, the less chance for air bubbles.


You want to fill the pan with water, until the level of the water is roughly equal to the level of the custard in their containers. 
Note: If the traditional ramekins are used, you'll want to set them on the water pans in the oven, with the rack pulled out. Fill the ramekins with the custard and carefully slide the rack back into the oven. Then fill the pan with water, in place. With these type of ramekins, if you have to move them after the water has been added, you run the risk of having water slosh into the custard, ruining it. Additionally, when the brûlées are done, turn the oven off, open the door and let the them cool in place. Once cool, you can carefully lift them out the water by hand.


Since the ladle and containers I chose made five creme brûlées, I put the fifth one in a small sauce pot. Because we used coffee cups and a rondo/sauce pot, we can easily fill everything ahead of time and pop them in the oven. Much easier that using the real ramekins. 
Creme Brûlées fresh out the oven.
You want to begin checking on them at about 30-35 minutes into the cooking process. Grab the edge of the pan and gently shake, as to not slosh the water, but enough to make the custard jiggle. When the brûlées have a firm jiggle, they are done. This is usually about 40-45 minutes total cook time.

Note: Do not over cook. If you shake the pan and the brûlées are completely stiff, they are ruined. If the brûlées have browned on top, they are ruined. In either case, the eggs in the custard will have scrambled. But, if you think you'd like creme brûlée flavored scrambled eggs, then by all means eat the ruined ones :)

Note: Wait until they have cooled to room temperature before wrapping individually.


Now comes the hard part: you must refrigerate them for 5-7 hours, or over night, before they are ready for the sugar crust.

Note: You must let them cool down to room temperature before placing them in the refrigerator. They will keep for about 4-6 days.


After the creme brûlées have chilled, sprinkle about a teaspoon and a half of brown sugar over the top.

Note: for this diameter, one packet of Sugar in the Raw, or even white sugar, will do nicely. For larger diameter, traditional ramekins, use 2 packets. 


Use a spoon to smooth out and evenly spread the sugar.


Now you need a torch, a basic propane torch from the hardware store will do. I am using a butane torch made for creme brûlées.


Use the torch to melt the sugar. Move the torch around in small circles, never staying in one spot for very long. The sugar should be completely liquified, but hot burned.


Once the sugar is caramelized, serve immediately.

Here is a Creme Brûlée I made in the correct ramekin, garnished with some raspberries and mint.
Enjoy