

A Southern favorite, chicken and dumplings is a staple among the inhabitants of the Golden Isles and this is one of my best attempts at creating a solid recipe for the dish. This is the classic recipe, but feel free to get creative and create something new. For example, you could grind up toasted pecans and add them to the flour when you make your dumplings and have Pecan Chicken and Dumplings. You could add 1 medium boiled potato to the dumpling mix and have Chicken and Gnocchi (These would be pseudo-gnocchis. I will do a true gnocchi recipe at some point next month.). You could add some curry powder to the dumpling dough and then garnish the finished dish with toasted walnuts for a Curried Walnut-Chicken and Dumplings. I could go on and on, as the only limitations are your personal taste and imagination.
Note: If ever I mention a variation of a recipe, feel free to message me to get the particulars of the variation. If the variant is interesting enough, I'll post a full recipe.
This is the second dish in a series of recipes that uses the leftovers of the previous dish as its base. This recipe follows directly from the Chicken Stock and Consommé Recipe, found here:
http://goldenislescooks.blogspot.com/2013/08/chicken-stock-and-consomme.html.
The recipe that follows directly from this recipe is Chicken Pot Pie filling.
Note: Only my wife and I are eating these meals, so we have plenty of leftovers with the recipes size I am using. If you plan on getting through the complete series of meals, you need to scale all the recipes accordingly, to fit the size of the group, for which you are cooking.

Note: It is good practice to read the entire recipe, while paying particular attention to the "Notes", before you try to make the dish, as there are often subtleties that can be easily overlooked, which sometimes, can make all the difference in the world for the outcome.
Makes 6-7 servings.
Skill Level: Beginner
Prep time about 20 minutes, plus one hour rest time between steps.
Cook Time about 30 minutes.
Ingredients:
- 2½ quarts of chicken stock or 1½ quarts of consommé plus 1 quart water
- 2 large eggs
- 2 level cups all purpose flour (APF)
- 3 teaspoons baking powder
- ⅔ cup of milk
- 1 tsp vegetable oil
- 1 heaping tsp of kosher salt
Tools Needed:
- Medium/Large rondo
- 2 medium bowls
- Whisk
- 2-3 wooden spoons
- Measuring cups
- Measuring spoons
- Chefs knife
- Straight edge (back of a knife will do just fine)
- Rolling pin or unopened wine bottle
- Large cutting board
- Food service wrap

To measure out exact cups of flour, or a "level cup", first you want to measure out what is known as a "heaping cup" of flower. Do NOT tamp down.

Placing the cup over your flower container and use a straight edge, like the back of a knife, to scrape the off excess flour. This method makes an exact cup. Again, DO NOT tamp the flour down.

Your cup of four should look like this.
Note: You don't tamp the flour, because doing so will compresses it. You will end up with a lager portion of flour than you need, which could adversely effect your recipe.

Apply the same method the to baking powder and dip out a heaping teaspoon and scrape off the excess with a straight edge.


This is a "level teaspoon".
Dip a heaping teaspoon of kosher salt out and add to the flour
Once you have added all the dry ingredients, use a whisk to ensure that there are no lumps.
Note: You can use a sifter on the flour before you add the other dry ingredients, but I have found, sifters are more trouble than they are worth. Turns out, it is just easier to use a whisk.

Add the eggs and the milk in a separate bowl and whisk.

Salt the egg and milk mixture, as eggs and milk do not come from the market seasoned.

Use a wooden spoon to mix the dry and wet ingredients together.
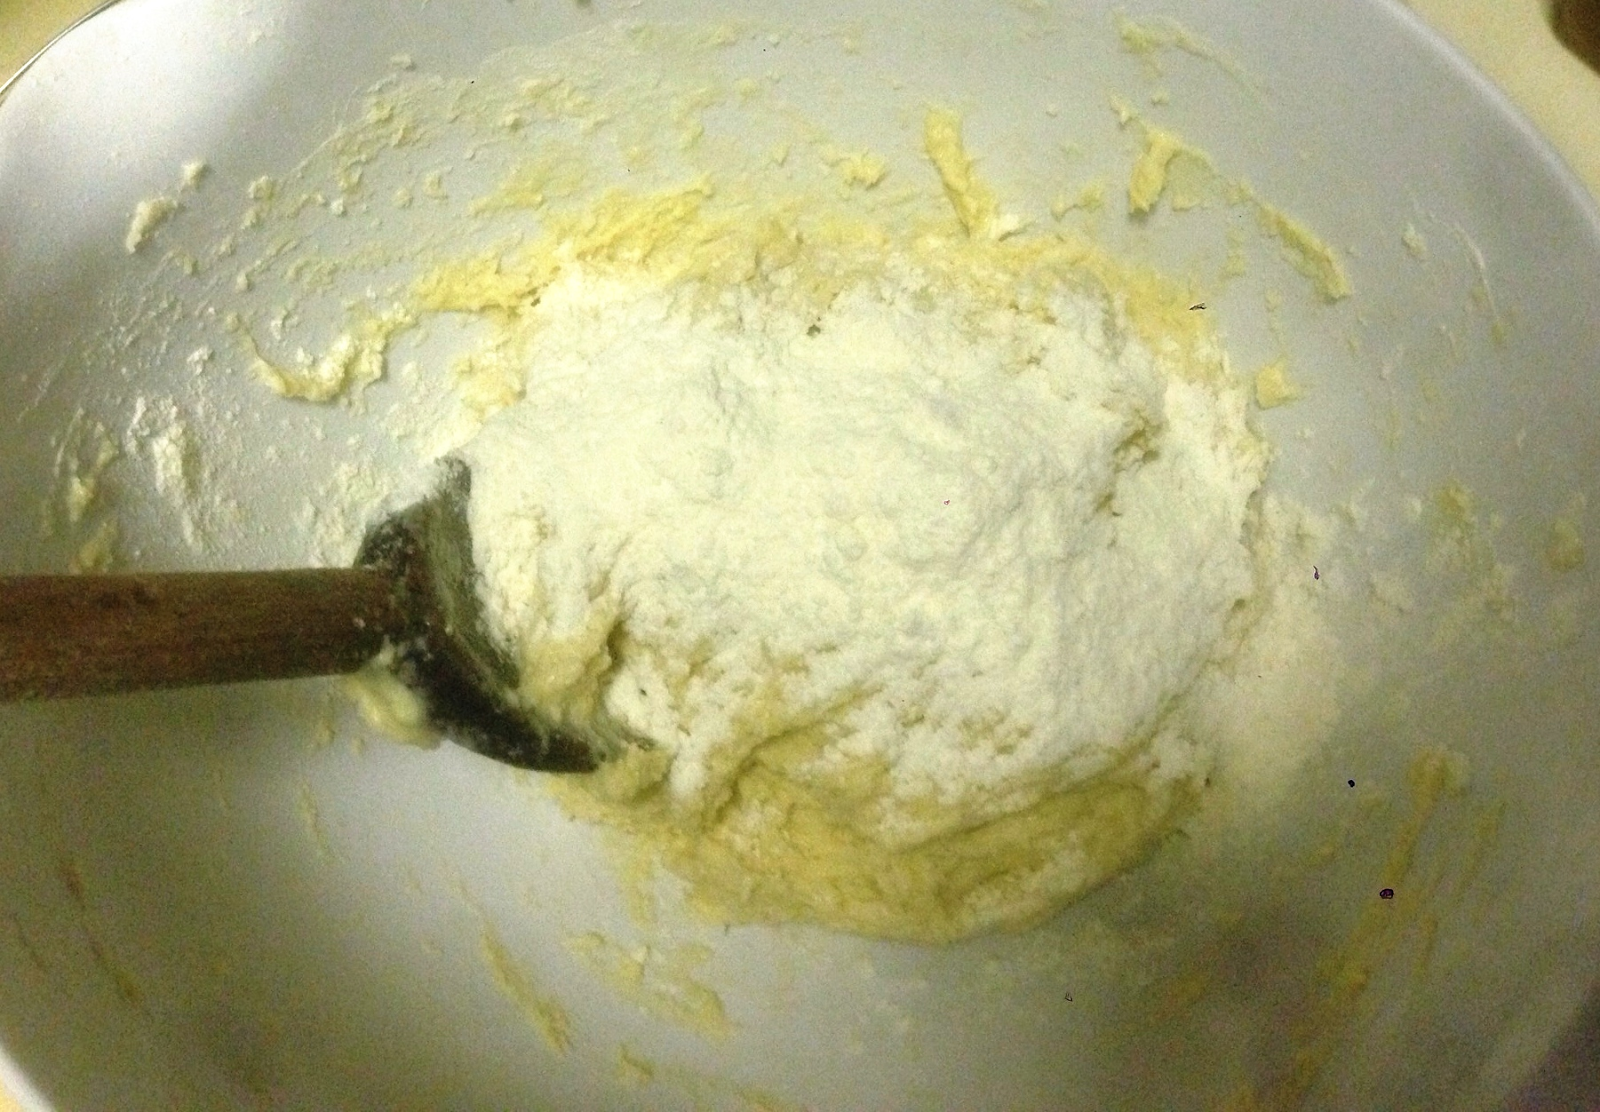
You want a stiff dough. If still tacky to the touch. you may need to add additional flour.

Kneed the dough for about 1-2 minutes. Just enough to make sure all the ingredients are incorporated well.
Place dough in a bowl with the ½ tsp of vegetable oil to coat the ball of dough.
 |
| Let dough rest for about an hour. |


After an hour has gone by, your dough will be ready to roll out. This is a good time to get your stock or consommé on the stove on medium heat.
Note: If you made consommé, then you will need to stretch it with 1 quart of water. Season to re-intensify the flavor.
Note: If you have made chicken stock, make sure you have 2 ½ quarts. if not, just add a little water, then salt to re-intensify the flavor.
Massage some flour into your cutting board, to help make it non-stick for the dough.

Cut the dough into 6-8 pieces for rolling.
Note: It is better to have smaller pieces, rather than larger pieces. This is because the dough will grow as you roll it and larger pieces will need quite of bit of area to roll out completely. If your find yourself with a piece of dough, which is growing too large, simply cut it in half and work each piece individually.

So what do you do if you don't have a rolling pin, well, we bring back our trusty, unopened wine bottle. As we'll see, unopened and opened wine bottles have 1001 uses in the kitchen.
 |
| Roll your pasta using this hand grip. Let the weight of the bottle do most of the work. |

You should be regularly, and lightly dust your cutting board, and the piece of dough you are working on, with flour. If you aren't using enough flour, your dough will stick to the pin/wine bottle.
Note: If you are using a wooden rolling pin, then you can massage flour into the grain to help prevent sticking. Rub with flour every time you dust your cutting board.

Note: The thickness of the dumpling will determine your cooking time. I like to get my dumplings as thick as lasagna noodles. They cook quickly at this thickness and have a nice texture.
Note: In my experience with this recipe, the thinner you roll the dumpling dough, the better they dumplings are.

You can place rolled out dumplings on floured cookie sheets to store out of your way, while your rolling.
 |
| Stack all the dumplings up. |

Cut in two and stack the halves.
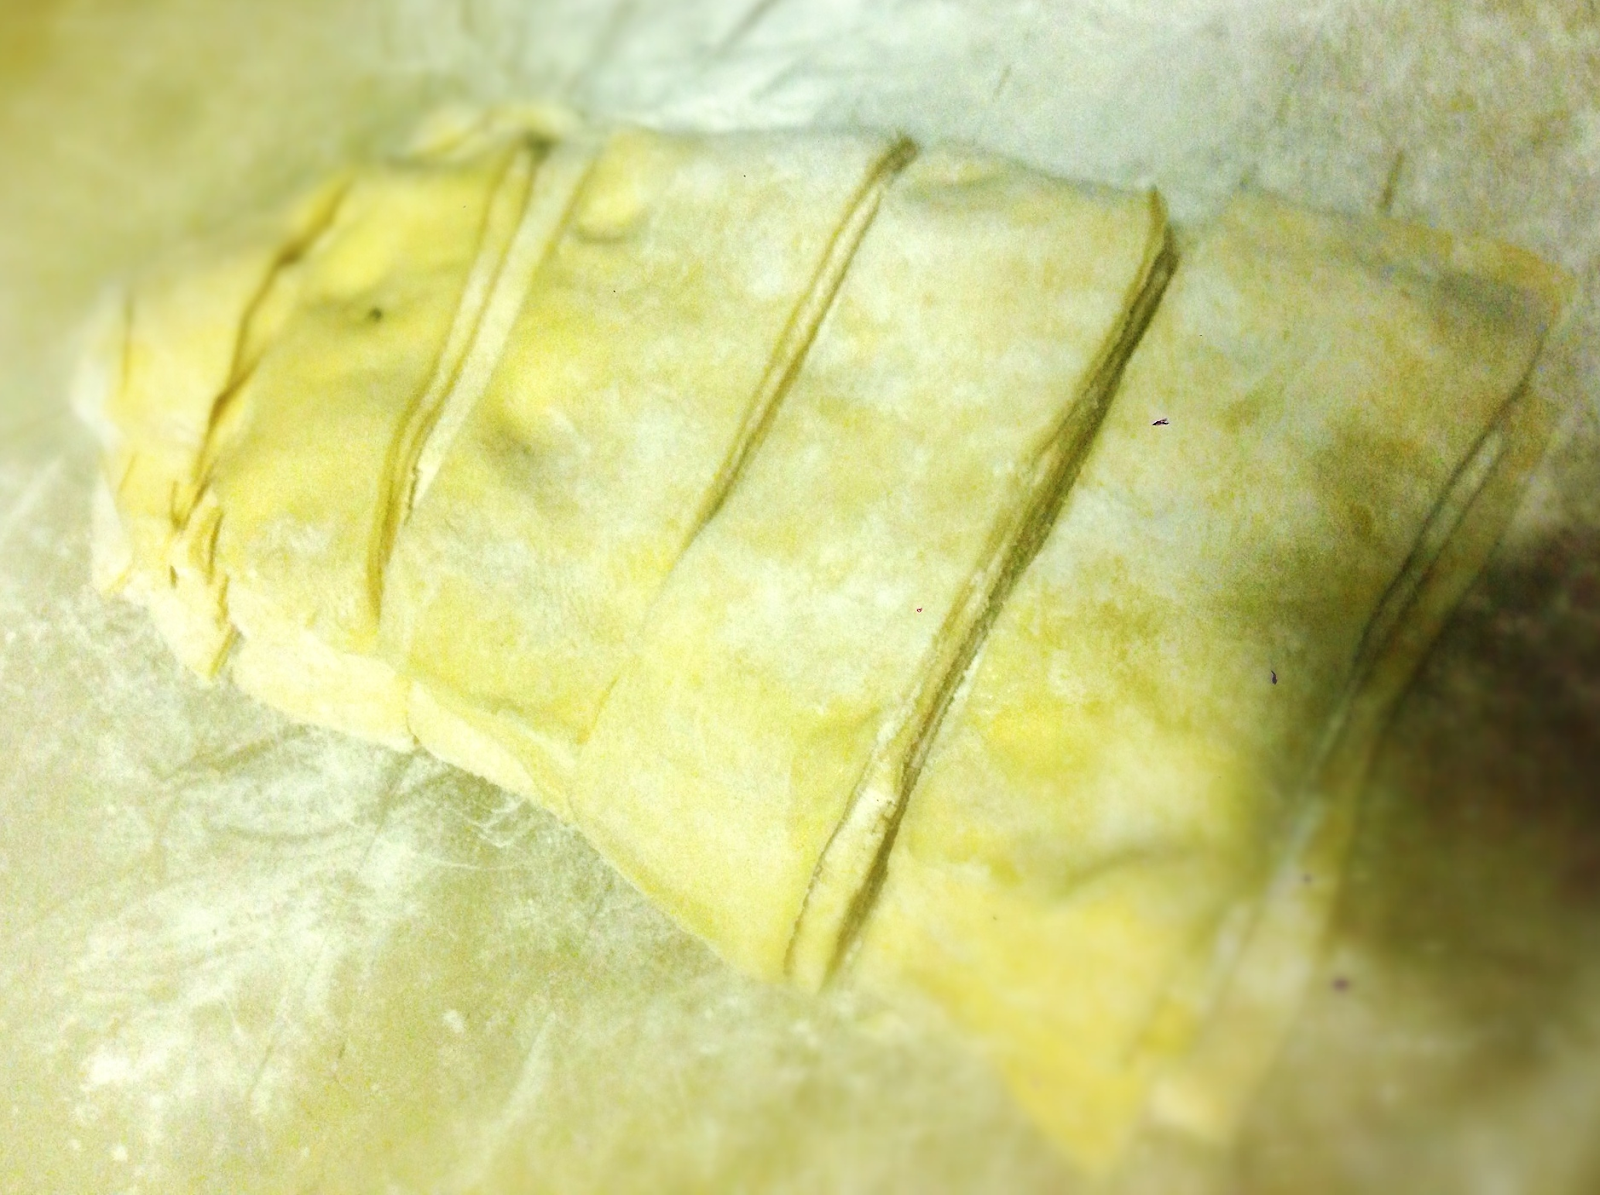
Now cut your dumplings about 1½ inches wide.

Making sure your stock is on the highest heat setting, when your chicken stock/consommé is at a hard rolling boil, drop in one stack of dumplings at a time. Stirring to make sure all the dumplings get separated. Once a boil has been re-reached, add another stack of dumplings. Keep repeating this process until all the dumplings have been added.
Note: if you saved any chicken fat from making the stock, this would be the time to add however much you like to enrich the dish.

Turn the heat down to simmer.
Note: If you are using an electric stove, it may not cool down fast enough to prevent boil over. Place one or two wooden spoons over the pot to prevent boil over while the stock and dumplings cool to a simmer.

Large dice one thigh and one breast, saving the others for a future recipe.
 |
| Add the chicken meat to the dumplings and stock. |

Cover the chicken and dumplings and simmer on low for between 25-30 minutes.
Note: If you made your dumplings thick, you may need to cook the them 45 minutes or more.
Note: These dumplings do not dissolve away easily, like pasta, which means longer cook times to get them to the desired consistency. The advantage to this particular recipe is, the next day the dumplings will still be dumplings, instead of a congealed mush, like so many other dumpling recipes become. So they are just as good, or even better he next day, as it should be.

Note: If you remove food from the fridge, and its container, DO NOT put the item back in the old container. There are bacteria colonies in the old container that will cause the food to spoil faster, so to extend the life of your food, place the item in a new, sterile container.

Note: If you use zipper bags, make sure to force out as much air as possible. As food ages, it releases its essential oils, or in other words, it released its flavor. Once the essential oils hit the air, they become oxidized, or go stale. To minimize this, you minimize the amount of air the item is exposed to.


After the dumplings have cooked for 25-30 minutes, use a spoon to give the food a taste. NEVER use your finger, no matter how great the temptation.
Note: Many chef's have a personal spoon, they keep on them at all times, used specifically for tasting while they cook.
After tasting the chicken and dumplings, adjust the seasoning if necessary.
 | |
|


