

Salmon is one of my favorite fishes to prepare. It's fatty and flakey and has a very versatile flavor that goes with just about anything. You can cook it rare or well done and the fish remains moist and sweet, unlike yellowfin or bluefin tuna, which if served well done, you might as well be eating Charlie's in a can.
This is a dish best served on a hot summer day. It is light and refreshing and, most importantly, it is delicious.

Note: It is important to realize that these recipes are merely guidelines to follow. They'll taste great as they are, but I encourage you to play with them and make the recipes your own.
Note: It is good practice to read the entire recipe, while paying particular attention to the "Notes", before you try to make the dish, as there are often subtleties that can be easily overlooked, which sometimes, can make all the difference in the world for the outcome.
Makes 2 servings.
Skill Level: Beginner
Prep time about 20 minutes, plus one hour rest time between steps.
Cook Time about 30 minutes.
Ingredients:
- 2 Filets of Salmon, fresh is always best, but frozen will do
- 2 Mangos
- Raspberries for the garnish, or some red food coloring
- 1 radish, for garnish
- 2 limes, for juice - 1 ½ tablespoons (you can use concentrate if you already have it on hand, if not, buy fresh limes)
- 3 cloves of garlic
- Sugar
- 1 Bag of tortilla chips (It would be better to buy corn tortillas and fry you own chips, but pre-made will work fine.)
- ½ cup whole walnuts (You can use cashews, pistachios, macadamias, pecans, or any other nuts you may already have on hand)
- 1 Bag of frozen sugar snaps (Fresh would be better)
- 1 tsp extra virgin olive oil
- Black pepper, preferably fresh cracked.
- Kosher salt
Tools Needed:
- Medium Sautoir Pan
- 1 Medium sauce pot
- Measuring cups
- Chefs knife
- Petty or paring Knife
- Fine mesh strainer (May not me necessary)
- Food Processor
- Large cutting board
- Piping bag or use the corner of a storage/freezer bag)
Preheat oven to 350 degrees.
Note: Items that are labeled "for garnish" are completely unnecessary for the flavor of the dish, so do not go out of your way to acquire these items.
Note: Items that are labeled "for garnish" are completely unnecessary for the flavor of the dish, so do not go out of your way to acquire these items.

Cut the mango, with your knife hugging the seed.
 |
| If done correctly, you should not have much meat left on the seed. |

Use a paring knife to cross cut the mango half.
 |
| Flip the mango inside out and use your thumb to separate the mango from the skin. |

Put the mango in a food processor.

After blended smooth, adjust the sweetness with sugar, if necessary, and add the juice of one lime for a little tang.

Your mango coulis should be smooth. Run through a fine mesh strainer if necessary.

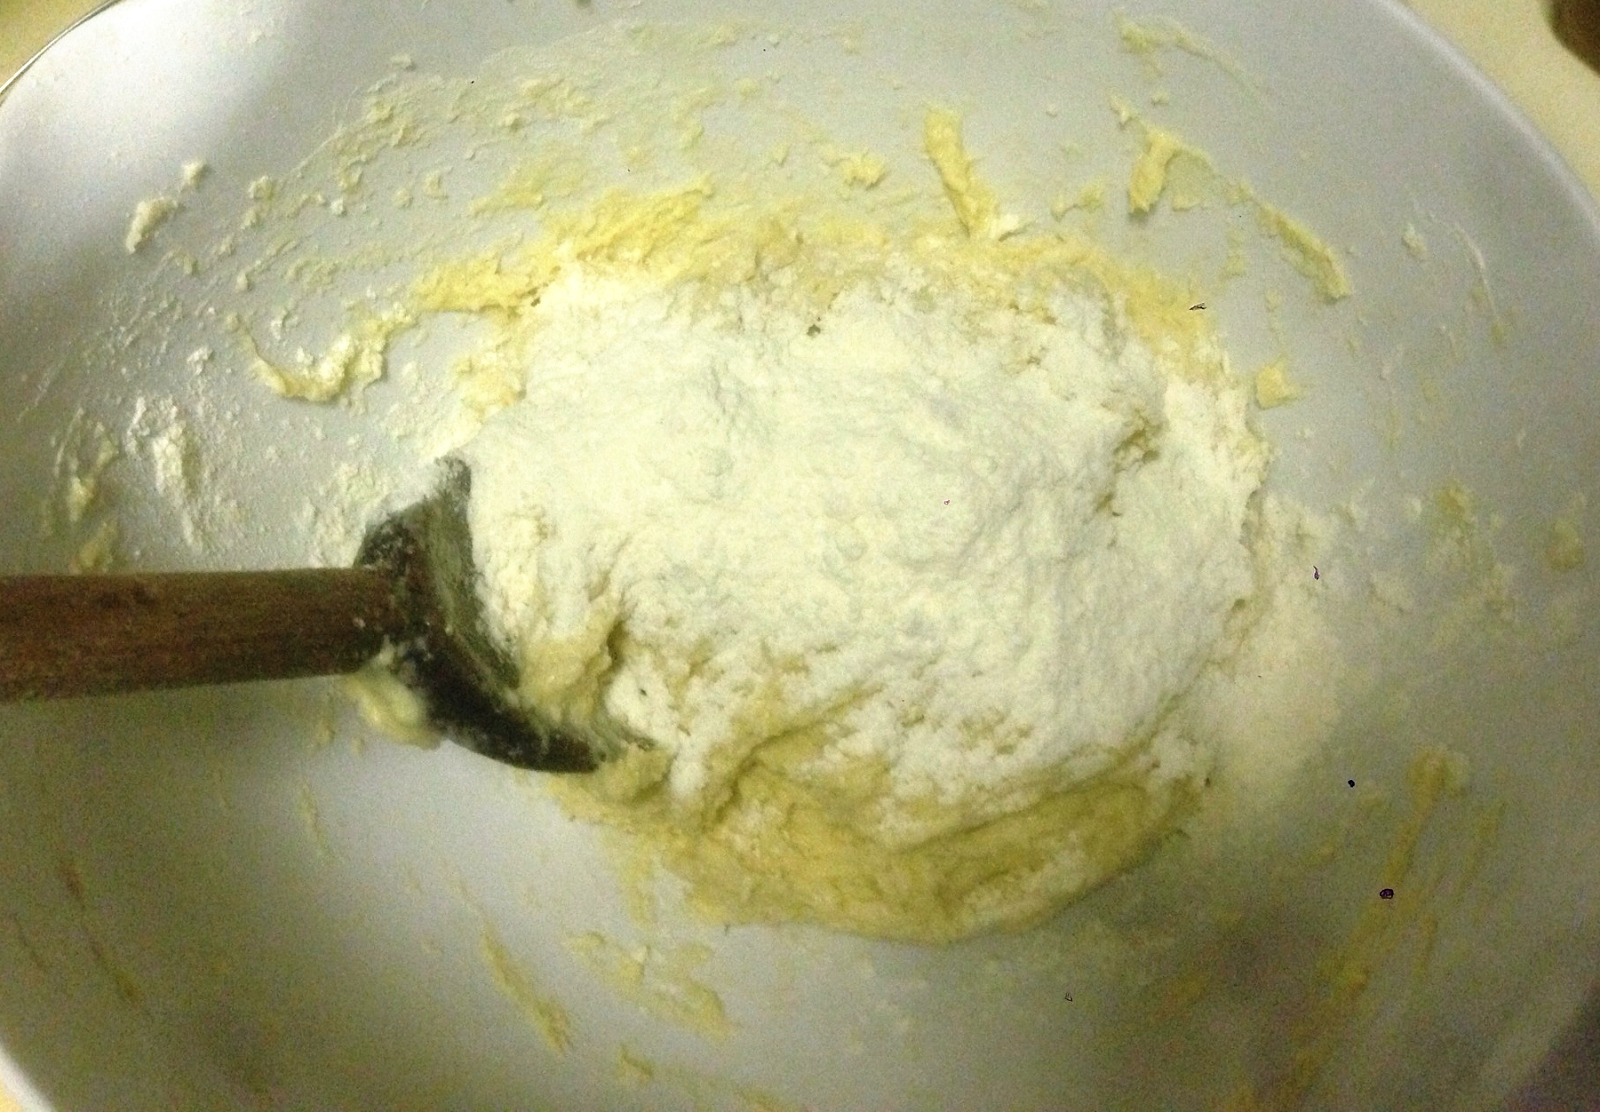
Crush up corn tortillas.
Note: You want to use plain tortillas here. You do not want to use flavored tortilla as they will overpower the flavorful subtleties of the dish.

Flatten garlic cloves with the palm of your hand and a chefs knife. Make sure the blade is facing away from you.

Rough dice the garlic and set aside for now.

Salt and toast walnuts in olive oil until golden brown. Use either a sauteuse or a sauce pot to toast the nuts, over medium heat.

Use a slotted spoon to remove the walnuts from the hot oil.


After the walnuts are removed, quickly add the cup of rice.
Constantly stir the rice as it toasts. This only takes a minute to two.
Note: It is good to have your water already measured out and within reach as the pot and oil are very hot and you don't want to stop stirring to get water because the rice will burn.
Note: If you sauté about ¼ of a cup of brunoise of mirepoix (carrots, celery, and onions diced ⅛"x⅛"x⅛"), prior to adding the rice, this is the recipe for rice pilaf.

Salt the water.
Note: You just want the water to have a smallest hint of saltiness. If you don't do this the rice will taste bland. If you salt the water as salty as you want the rice to taste, when it is done cooking, the rice will be overly salty to eat. AS the rice cooks, some of the water evaporates away, intensifying the flavor, which is why you want to under salt the water.

As soon as the rice comes to a full rolling boil, put a lid on the pot and place in the oven for 12 minutes.

Just when the oil heats up, in a sautoir pan, for the beans, add the garlic and cook to 2-3 minutes before adding the beans.
Note: You want the heat low enough, when cooking the garlic, so that the garlic does not brown. Browning garlic makes it bitter.

Sautée the garlic in olive oil, as the oil is waking up. Just before the garlic begins turning color, add the beans. Warm through and toss with a little salt and pepper to taste.

Note: when the oil is ready, it will noticeably expand a bit, turn clear, and it will begin to ripple around the edges and you can see in the photo.

Note: if you are using teflon coated pans, the shaking is not necessary.
 |
| Flip when golden brown. |

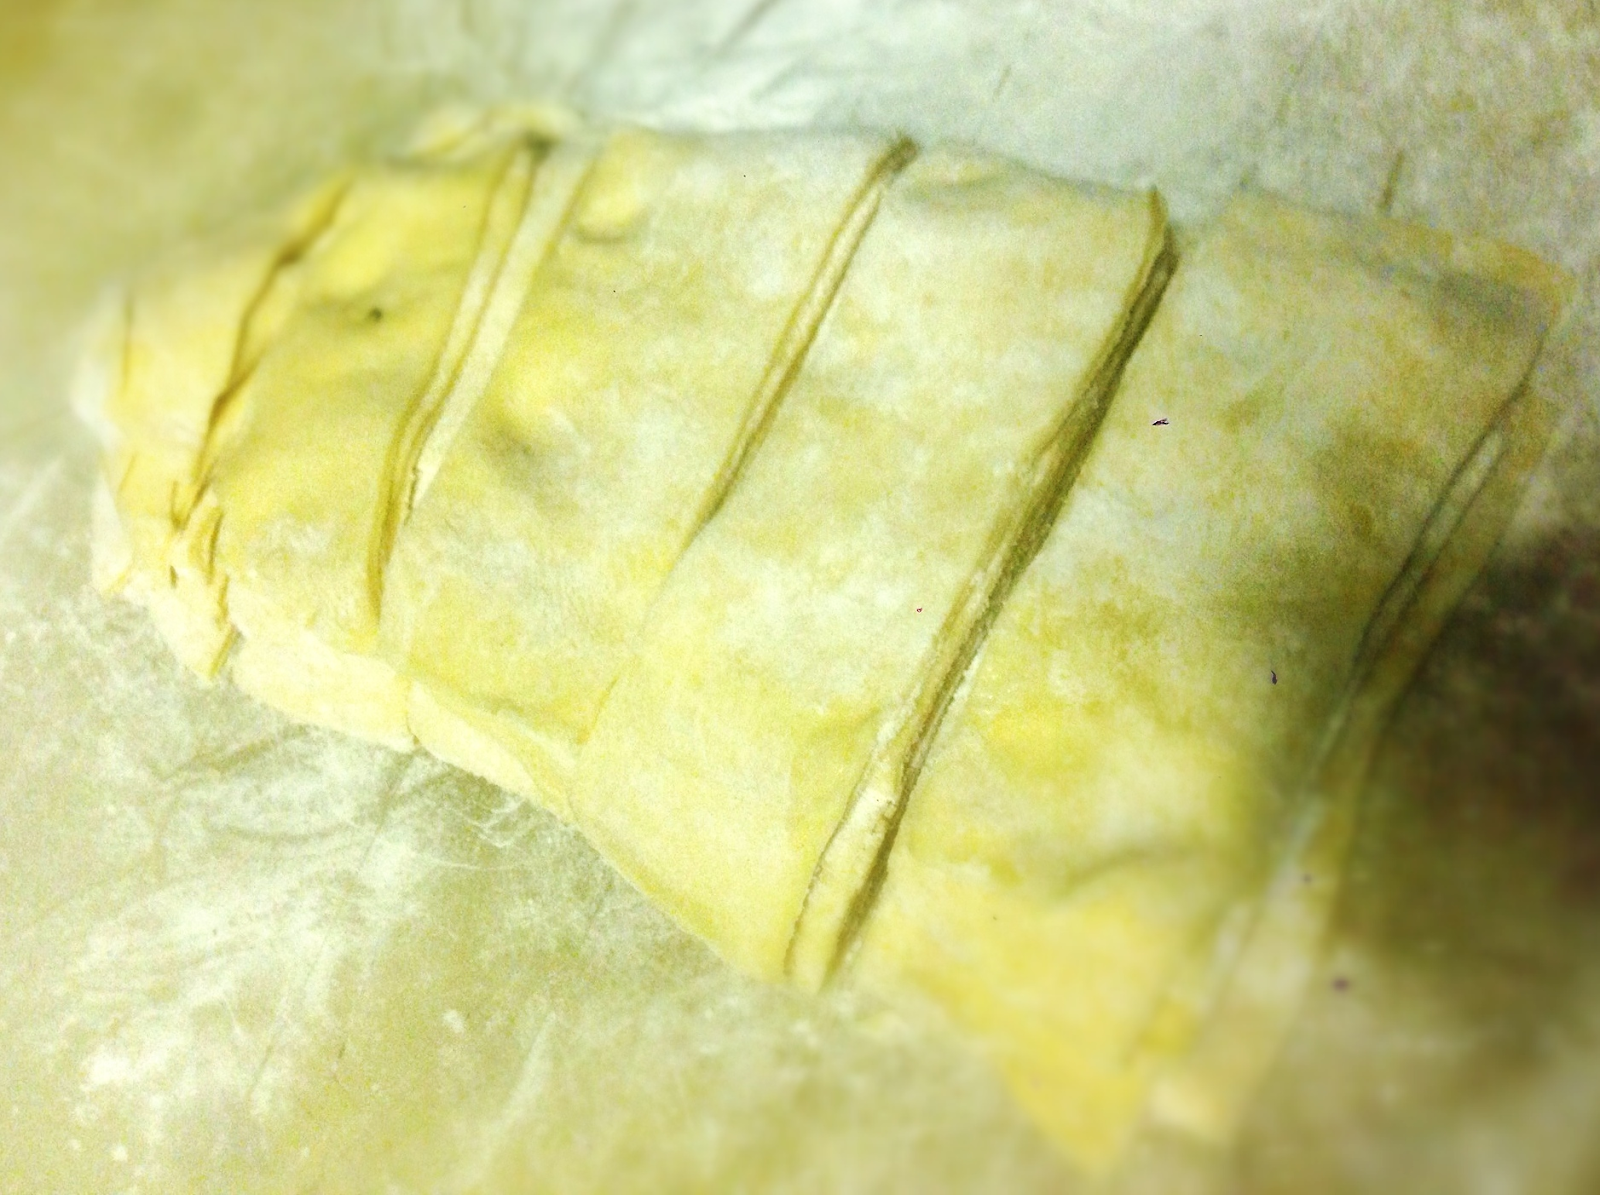
Top with the tortilla chips and place in the oven for 4-6 minutes, depending on how thick the filets are and how well done you want your fish cooked.
Note: if you have fresh salmon, it is best cooked medium, still just a touch raw in the middle.

Note: Adding a little olive oil to butter raises the butter burn temperature so you can cook hotter for longer.

Heat the walnuts up in a pan with butter and a little olive oil.

Add the rice to the pan and toss well. Adjust seasoning if need be.
Note: Rice sautés better if you have refrigerated it prior to use.

For the garnish, if you have raspberries on hand, make a coulis just like the mango, and place in a little pipping bag. You can us the corner of a freezer bag if you need to.
Note: In this case, I did not have raspberries, so I took a little of the mango coulis and added a little red food coloring.
 |
| Note: a coulis is a thin fruit or vegetable purée, used as a sauce. |
To do the mango's garnish, spread the mango coulis on the plate, use the pipping bag to create spiral of raspberry or red mango coulis in the yellow mango coulis. Using the tip of a paring knife, drag it back and fourth through the coulis. Play with this and see how many cool patterns you can make.
Enjoy.


